Phase-1 - Get signal from child window
--------------------------------------
Start with the program we wrote in class together on Friday week-4.
It is 3600/4/myxwindow.c
Rename your program if necessary. At least 4 students need to do this.
If you were not in class, ask your instructor for the code.
Compile like this...
gcc myxwindow.c -Wall -lX11
Functionality needed for phase-1
--------------------------------
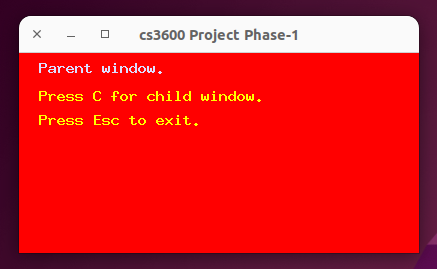
1. Start your program.
The parent window will have text indicating "parent".
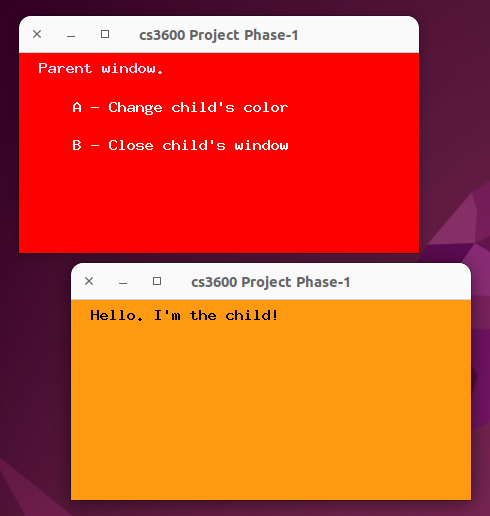
2. In the parent, press 'C' key to create a child window.
3. The child window will have text indicating "child".
4. With the child window open, move your mouse over the parent window
to see the letter 'm' display in the terminal.
The parent window must keep working while the child is open.
5. From the child window, press Escape key to terminate.
The child window will close.
6. The parent window will now display a message something like...
"My child has closed."
7. Press Escape to close the parent window.
 Rules for phase-1...
1. Do not call wait(), waitpid(), system(), or execve().
2. The parent should look for a signal using a POSIX signal handler.
Refer to the 3600/3/mysignals.c program we wrote together in class.
The parent may call render() from its signal handler.
3. The child should not have a signal handler.
4. Your colors can vary, but your text must be readable against the background.
5. Optional:
The child window will print a 'c' to the terminal on mouse move.
This is not a complex program.
Keep your program simple.
Rules for phase-1...
1. Do not call wait(), waitpid(), system(), or execve().
2. The parent should look for a signal using a POSIX signal handler.
Refer to the 3600/3/mysignals.c program we wrote together in class.
The parent may call render() from its signal handler.
3. The child should not have a signal handler.
4. Your colors can vary, but your text must be readable against the background.
5. Optional:
The child window will print a 'c' to the terminal on mouse move.
This is not a complex program.
Keep your program simple.