CMPS-3350 Lab11
Elements of this lab...
. Android studio IDE (integrated development environment)
. Tools configuration and setup
. XML file modification
. Java programming
. Interface design
. Debug vs Release mode
. Delivery of finished application to the user.
link
Step 1:
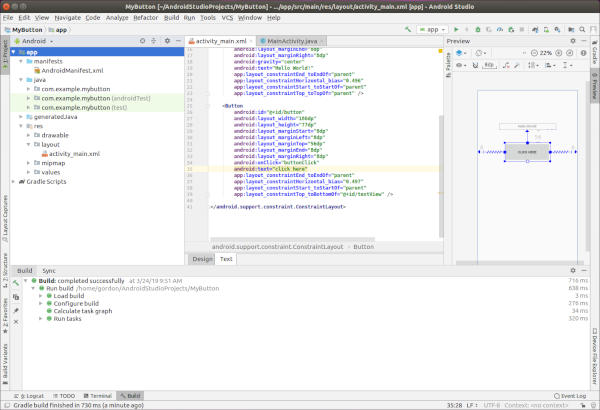
Start an Android project using Android Studio.

Use of a room-240 local Desktop is required.
Ask gordon if you may use a laptop running Android Studio.

Start with an empty activity.
This framework will display "hello world!" when first run.

Emulators...
Recommend choosing Nexus 6 API 24

Choosing an emulator with google-play can be problematic.
so don't do it.

If your emulator does not quite work...
   . Android Studio menu
   . Tools
   . AVD Manager
   . choose your emulator and Actions: edit
   . for Emulated Performance choose Software
   . Finish
|
|
Step 2:
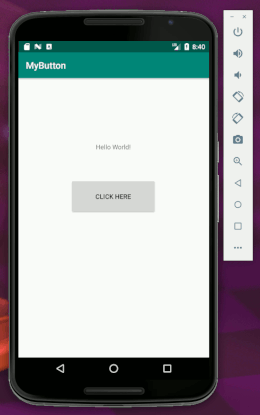
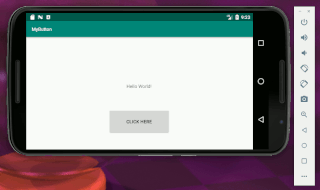
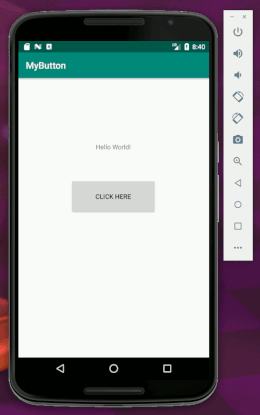
Add a button to your app.

Set your button label to something interesting.

When the button is clicked or touched,
the Hello World! will change to your own name.

You may make this a press or long-press.

Button should be just above the middle of the screen.
Text must be just above or just below your button.
(not up in the corner)
|
|
|
|
landscape orientation
|
<--- portrait orientation
|
|
Step 3:
Popup message showing your name

When your button is pressed...
a popup message will also display temporarily
on the screen showing your name.

It will display for a few seconds,
then go away.
|
|
Step 4:
Swipe downward to close app.

stackoverflow link

Add a feature so that the app will close when you swipe downward on the screen.

The app must close without lifting your finger from the screen.
User must swipe down about 1/2 the height of the screen.
The user must swipe downward, not sideways or upward.

Use your sources to look up the following method:
   public boolean onTouchEvent(MotionEvent event)

It can be defined as a method inside your MainActivity class.
Step 5:
Define your own personal app startup icon.

1. right-click on your res folder.
2. choose new/image asset.

Be creative.

Make your lab-11 app look nicer than above if you like,
while meeting the requirements.

Images can be captured from your phone by holding the power and volume-down
buttons for about a second. Look for the screen image in gallery, or in
the pictures/screenshots folder on your phone.
What to turn in?
Show Gordon or Nick your working app during lab session.

Copy your Java file and your XML file to your /3350/b/ folder on Odin.

You may copy only the files that you modify during your project.
Do not copy your entire Android project directory.

Save your project onto your laptop or a flash drive.

Simple Android projects can take up lots of storage space,
so if stored on Odin, you may want to tar or zip the project directory.
Required work:
Deliver your app to the user.
Please visit
this page for instructions.