CMPS-3480 Computer Graphics
Lab-1
Due: Thursday morning at 9:50am
Files will be collected from your Odin directory 3480/1/
See homework at bottom of page.
Overview:
In this lab, we will:
- Use a C++ and X11 graphics framework.
- Draw pixels to the screen.
- Display a raster image.
Before you begin...
Your 3480 Odin directory must be setup properly.
A help file  <--- is there.

Get this done first.
Step 1:
Please do these steps to prepare for coding...

1. Log into Odin, using the -YC options.
example: ssh myname@odin -YC

2. Change to your /3480/1 folder.

Copy the lab files now...
cp ~gordon/p/3480/code/lab1/* .

Compile and run the program:
make
./lab1

This program is similar to the sample1.cpp program we saw in class,
but has some important differences. The render function is called
only when an event occurs. This program is not an animation.
Step 2:
Follow along with your instructor.
We will
1. draw a pixel.
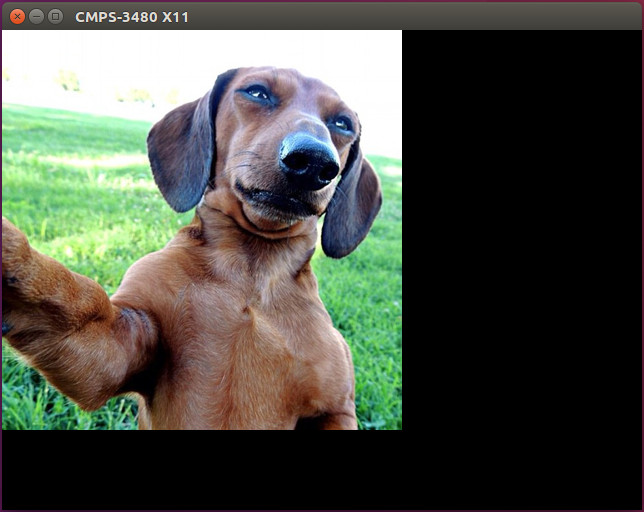
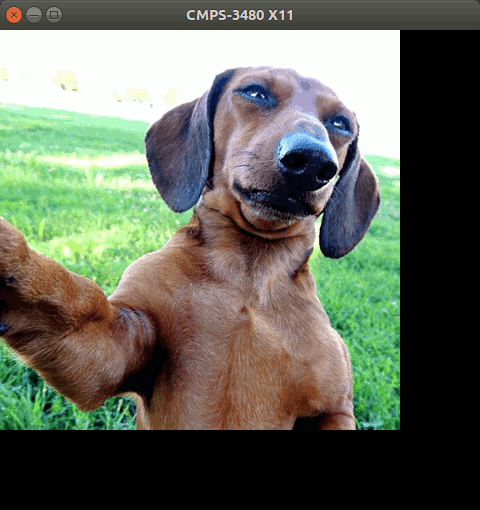
2. display an image to the screen.
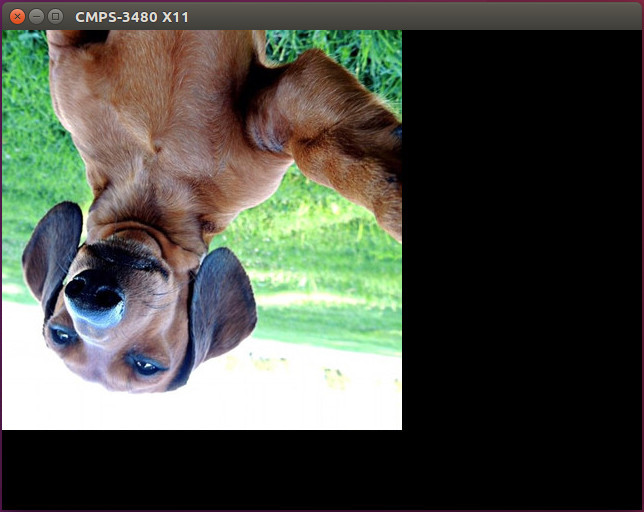
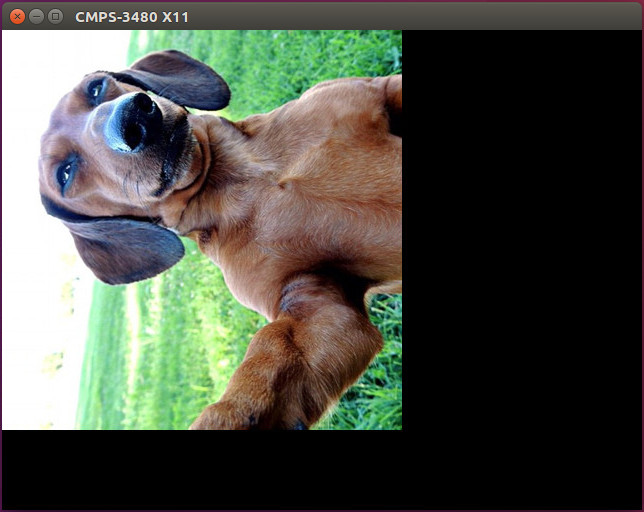
3. rotate the image 90 degrees clockwise.
When the '1' key is pressed...
 When the '2' key is pressed...
 Continue working on your image manipulation.
Add rotations for 180 and 270 degrees.
When the '3' key is pressed...
Continue working on your image manipulation.
Add rotations for 180 and 270 degrees.
When the '3' key is pressed...
 When the '4' key is pressed...
Step 3:
Add the following functionality.

Each time the 'R' key is pressed, the image will rotate 90-degrees to the right.

Pressing the 'G' key will display the image in grayscale coloring.

Each time the 'G' key is pressed, the current image will toggle between
color and grayscale.

Press 'C' key to display the image not as a rectangle, but a circle.

Press 'M' to show a menu of your program's options.
What to turn in for the lab...
Leave your lab1.cpp and Makefile in place on Odin.
Homework:
Homework elements could be added here.
A due-date will be determined as our first week progresses.
Homework update:
Below is pseudocode for arbitrary image rotation.
(as discussed in class)

It is the same as that drawn on the white-board except for the following

1. save the length from center to pixel
2. check if pixel is within bounds of the image

pseudocode symbols:
   <- means assignment

xcenter <- image_width / 2
ycenter <- image_height / 2
for i from 0 to image_height-1
   for j from 0 to image_width-1
       xdiff <- j - xcenter
       ydiff <- i - ycenter
       length <- sqrt(xdiff*xdiff + ydiff*ydiff)
       ang <- atan2(ydiff, xdiff)
       ang <- ang - rotation_angle_in_radians
       x <- cos(ang) * length + xcenter
       y <- sin(ang) * length + ycenter
       //pixel must be within image bounds
       if (x >= 0.0 && x < image_width)
           if (y >= 0.0 && y < image_height)
               *cp <- image_data + (y * image_width * 3 + x * 3)
               set_color(*(cp), *(cp+1), *(cp+2))
               drawPoint(j, i)


There are various way to code the data-stream values.
You may use pointers or array brackets.

Choose a key to rotate clockwise and counter-clockwise.
Your rotation might look something like this...


You may add features, but keep the current key-strokes we have discussed.

You will be scored on how many features you are able to add successfully
to your program. Quality of your program is also important.
You may add features, but keep the current key-strokes we have discussed.
You will be scored on how many features you are able to add successfully
to your program. Quality of your program is also important.