CMPS-3480 Computer Graphics
Lab-9
Overview:
- OpenGL
- building a terrain
- triangle mesh
- heightmap
- texture image
- camera position and movement
Step 1:
Please start with your lab7.cpp program.
Copy it to 3480/9/lab9.cpp
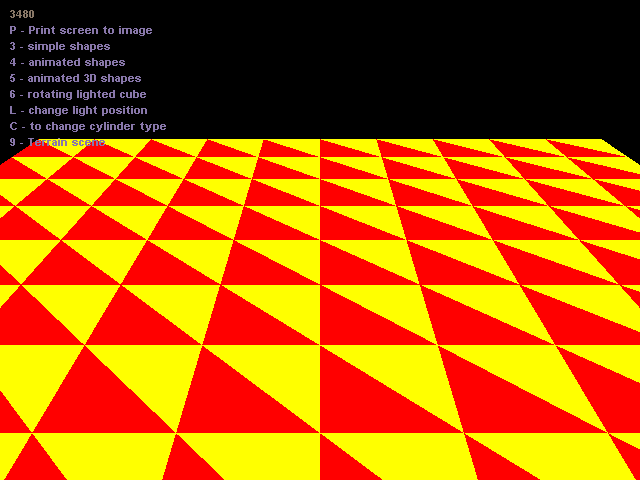
We started this lab together in class Wednesday.
And attained this flat terrain.
 The code for this will be displayed on the big screen.
Move your camera back to see the full terrain grid.
gluLookAt(0,10,30, 0,0,0, 0,1,0);
from at up
The code for this will be displayed on the big screen.
Move your camera back to see the full terrain grid.
gluLookAt(0,10,30, 0,0,0, 0,1,0);
from at up
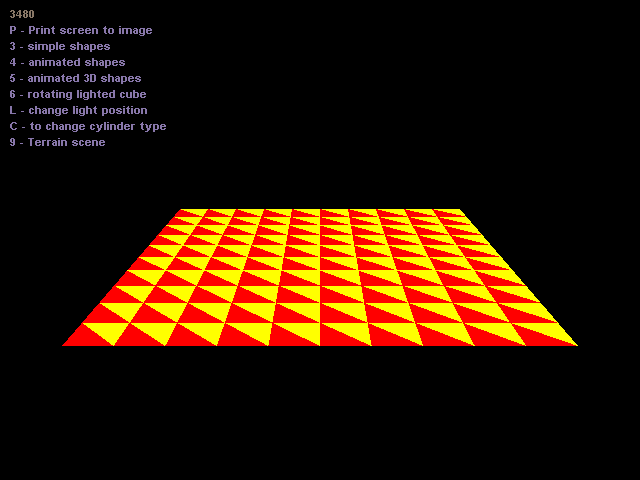 We will work on this together to get a heightmap and texture into the program.
Terrains
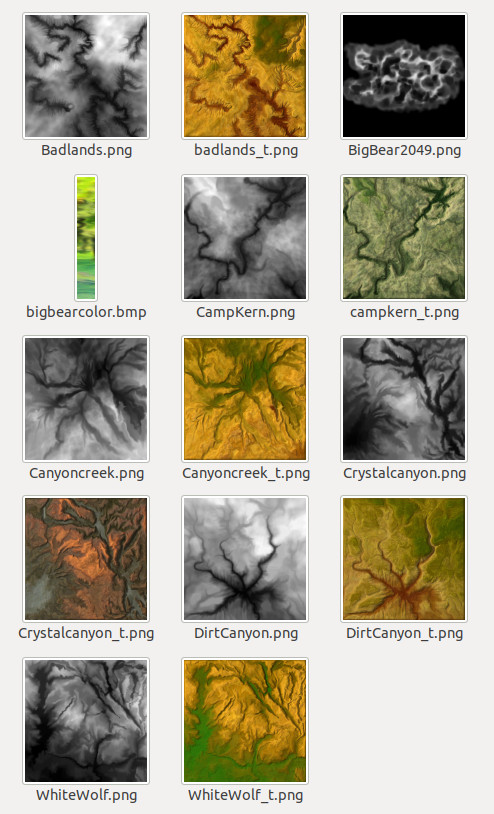
Choose some terrain files from /home/fac/gordon/p/3480/code/lab9/terrains/
Get a heightmap and a texture map.
Step 3:
Bring your 2 chosen images into your program via the Image class.
You will now have a data stream for color and for height of each vertex.
As you build your grid, use the data streams to add those components.
We will start it together on a small scale.

example:
You brought in the Badlands terrain.
The images are very large, and used as-is will require more than
32-million objects to render your terrain. This will not work well
for real-time movement over your terrain.

Reduce the size for testing.

From your Linux command-line...

   convert Badlands.png -size 256x256 badlands256.png
   convert badlands_t.png -size 256x256 badlands_t256.png

Your terrain will be 256 * 256 * 2 = 131,072 triangles.
This is much more reasonable for a real-time animation.

Build your flat terrain at 256x256.

We will work together to get the height and terrain colors.
Step 4:
Add water to your terrain scene.

Here is a texture map image for your water surface.


1. Build a flat grid of triangles, just like the red/yellow terrain started
   out (above).

2. Draw it right where your terrain is.

3. Apply the following code to make your water transparent.

       glEnable(GL_BLEND);
       glBlendFunc(GL_SRC_ALPHA,GL_ONE_MINUS_SRC_ALPHA);
       glColor4ub(0,0,0,80);
       //
       //render your water grid

       glDisable (GL_BLEND);

4. Define a key-press that will change the water grid's Y-value
   up and down a little.

5. Define a texture map for the water image above.
   It will be very similar to the pool table felt texture.
   See the pball.cpp program.
   Apply the texture to your water grid.
1. Build a flat grid of triangles, just like the red/yellow terrain started
out (above).
2. Draw it right where your terrain is.
3. Apply the following code to make your water transparent.
glEnable(GL_BLEND);
glBlendFunc(GL_SRC_ALPHA,GL_ONE_MINUS_SRC_ALPHA);
glColor4ub(0,0,0,80);
//
//render your water grid
glDisable (GL_BLEND);
4. Define a key-press that will change the water grid's Y-value
up and down a little.
5. Define a texture map for the water image above.
It will be very similar to the pool table felt texture.
See the pball.cpp program.
Apply the texture to your water grid.
Step 5:
Add camera movement.

Choose WASD or arrow keys.

Add functionality so that where ever the camera is, it will
stay above the surface of the terrain just a little.

Post a few nice shots of your terrain.

Here is my own terrain with trees added.

What to turn in...
Your instructor will find your work out on Odin!